glitter glitter errrrrrywhere.
I swear I just need to coat my house in it.
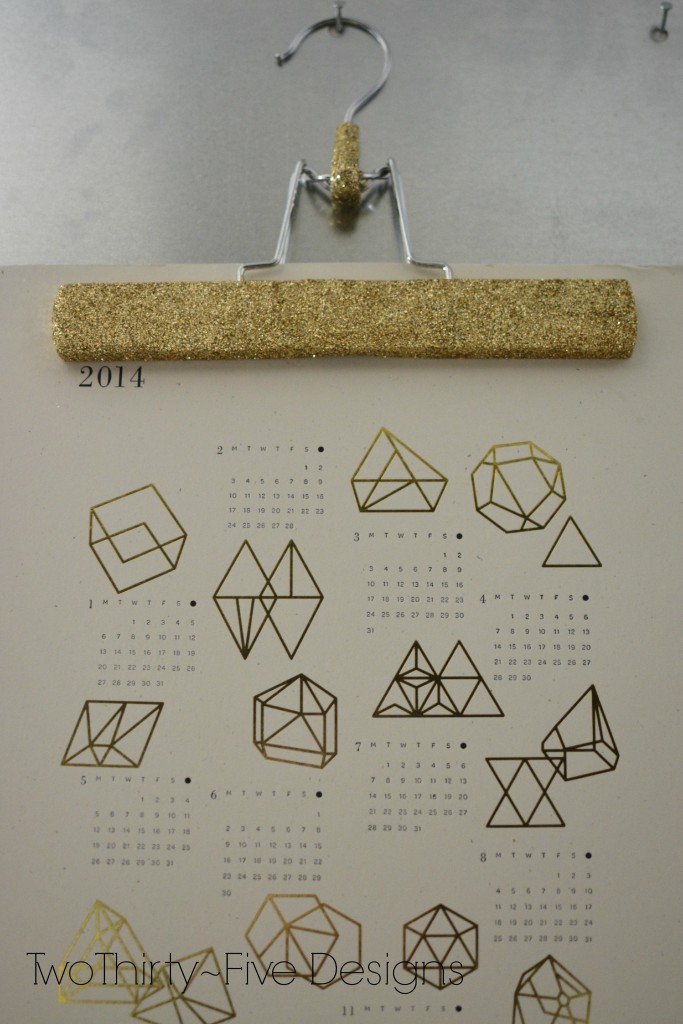
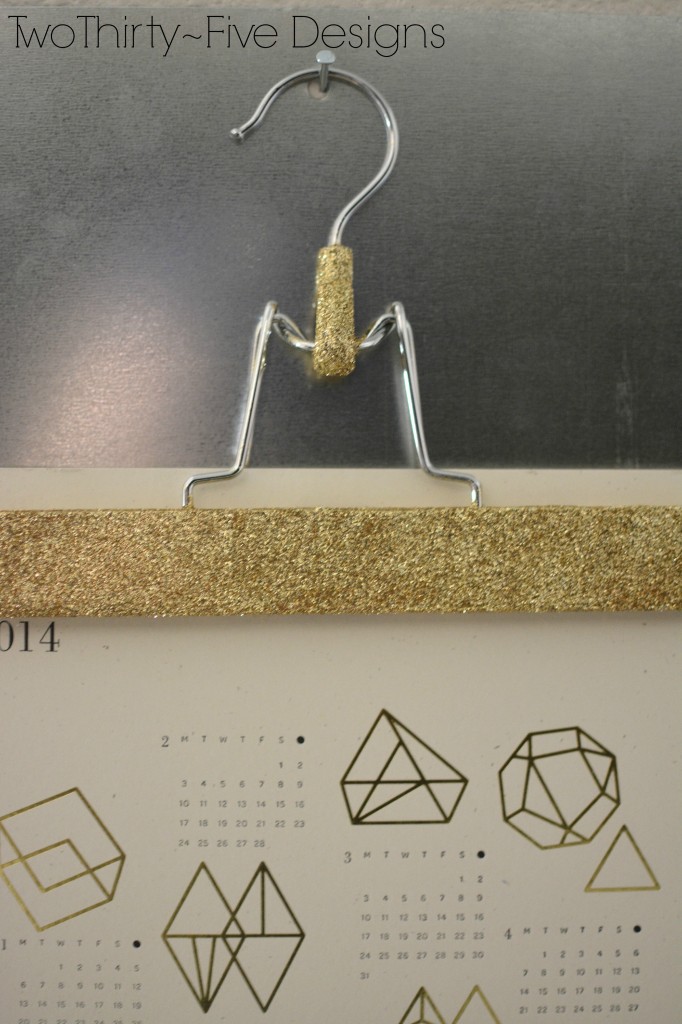
I have held on to this little Calendar that I ordered from Moorea Seal in the winter, and I knew that I didn’t want to just throw it up anywhere. It is just too pretty, and since I have a serious obsession with all things paper, I knew I needed to show it off. I knew I wanted to use a hanger, just needed a spot.
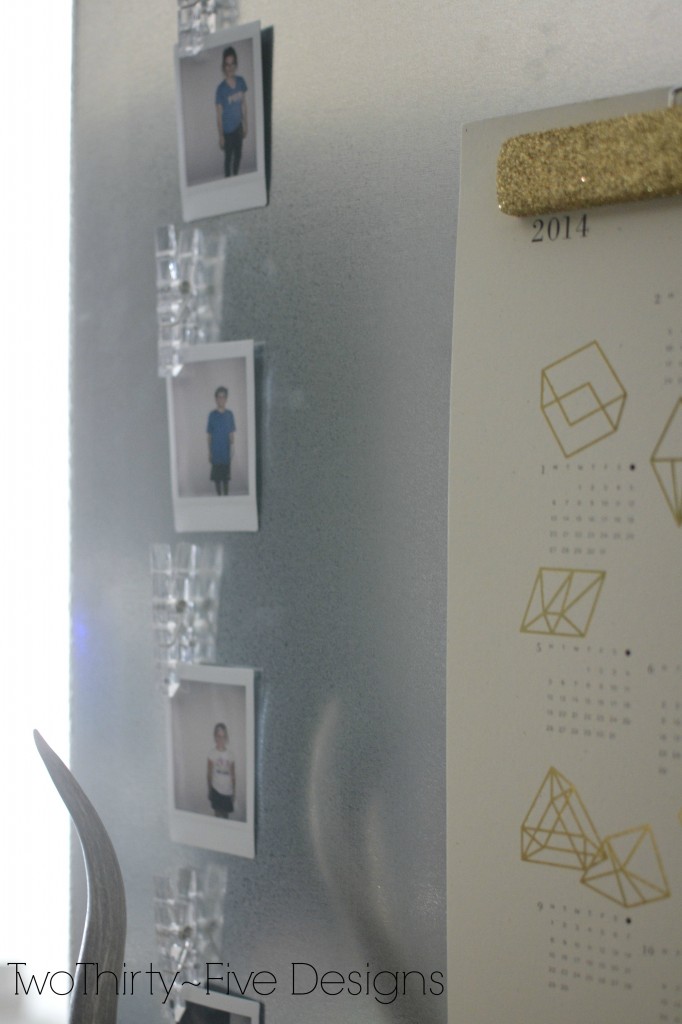
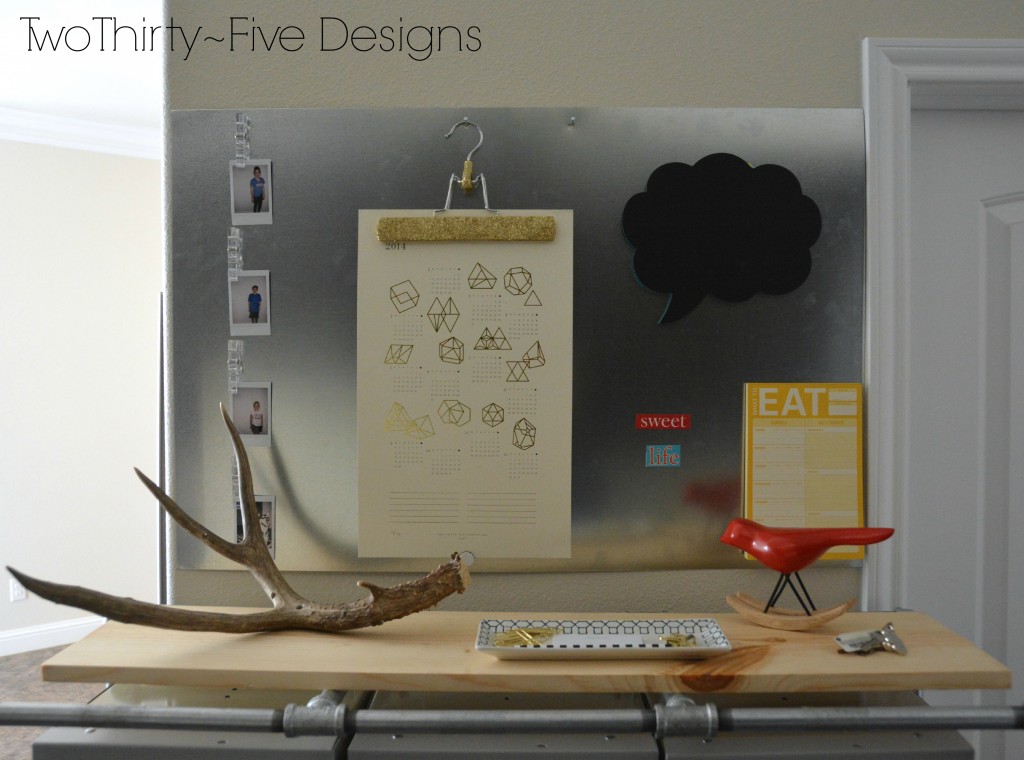
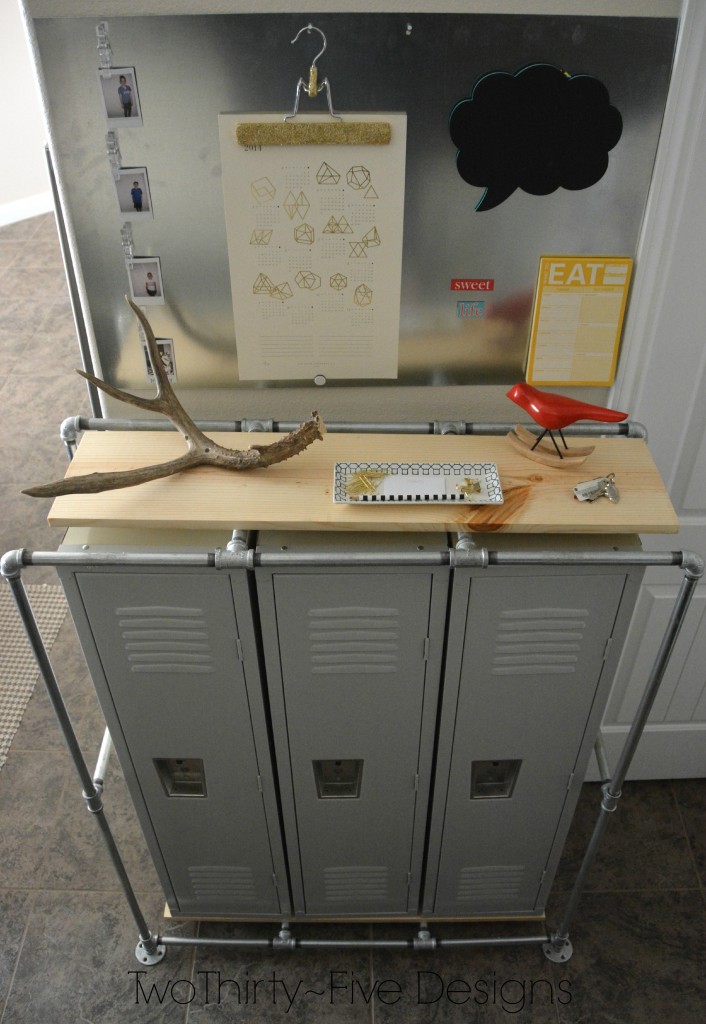
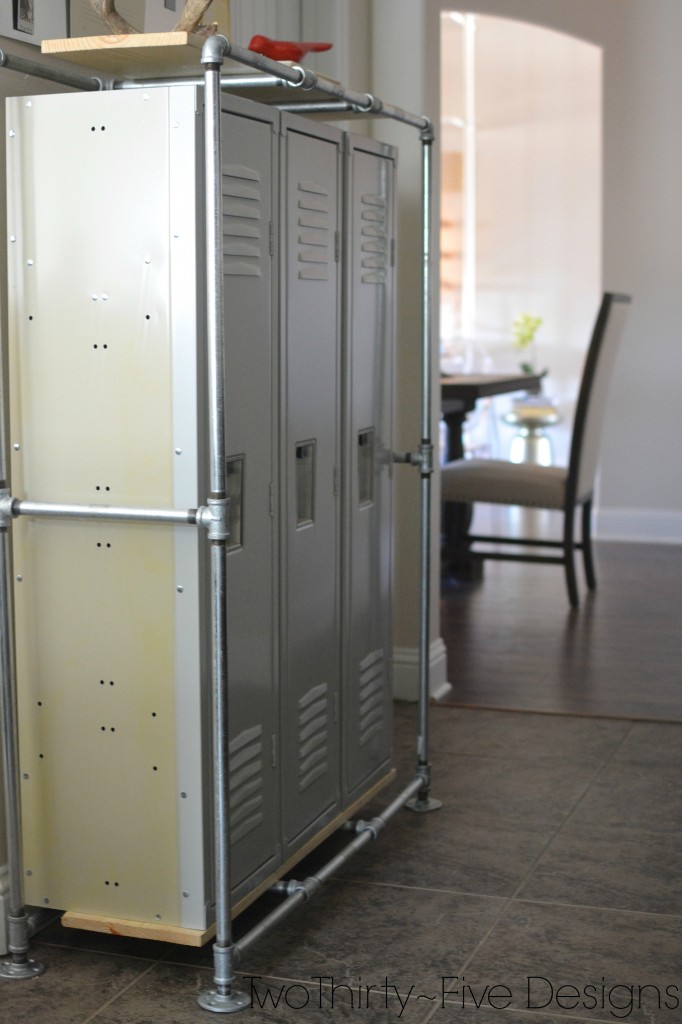
Enter my locker system (view here and here). This are gets a ton of traffic and I knew it could be displayed the way I wanted it to.
So the night that I finished the locker storage, I busted the glittered hanger out in less than 5 minutes.
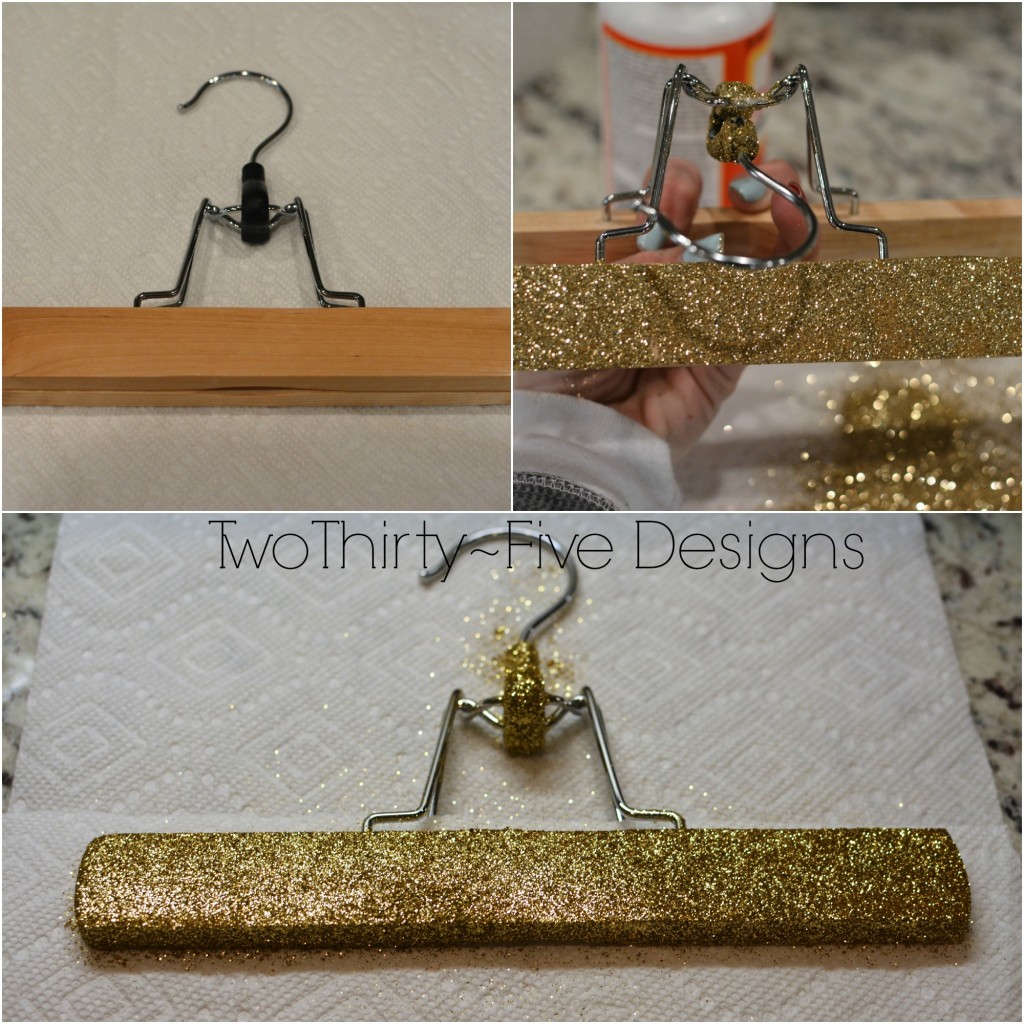
1. Pants Hanger? Slacks Hanger? Paper Holder? whatves…
I had searched for vintage ones years ago, I was looking for some without the black plastic piece up top. But I didn’t want to spend a fortune.
So I grabbed a handful at Target and decided to test out an area on the plastic to see how well the glitter would hold up. And it did.
2. Open the hanger and begin to coat one side of the wood (top and sides) with Modge Podge. Work in small areas, modge podge then glitter, so it will remain tacky. While holding the hanger open with one hand, coat the black, plastic piece and dump glitter on. Balancing the hanger becomes fun at this point. After all is coated, slowly move the hook back into position, but do not close all the way. Touch up any spots that need to be.
I opted not to glitterize, yes, that’s a word in my book, the back for many reasons. Rubbing off, scratching the wall, etc.
3. I laid a paper towel down for the hanger to dry on. Place hanger on that and lay another paper towel between the wood slats to dry on. Do NOT clamp down. Glue will still be wet and some of the towel might stick, but its easily peeled off.
4. After its dried, shake excess off.