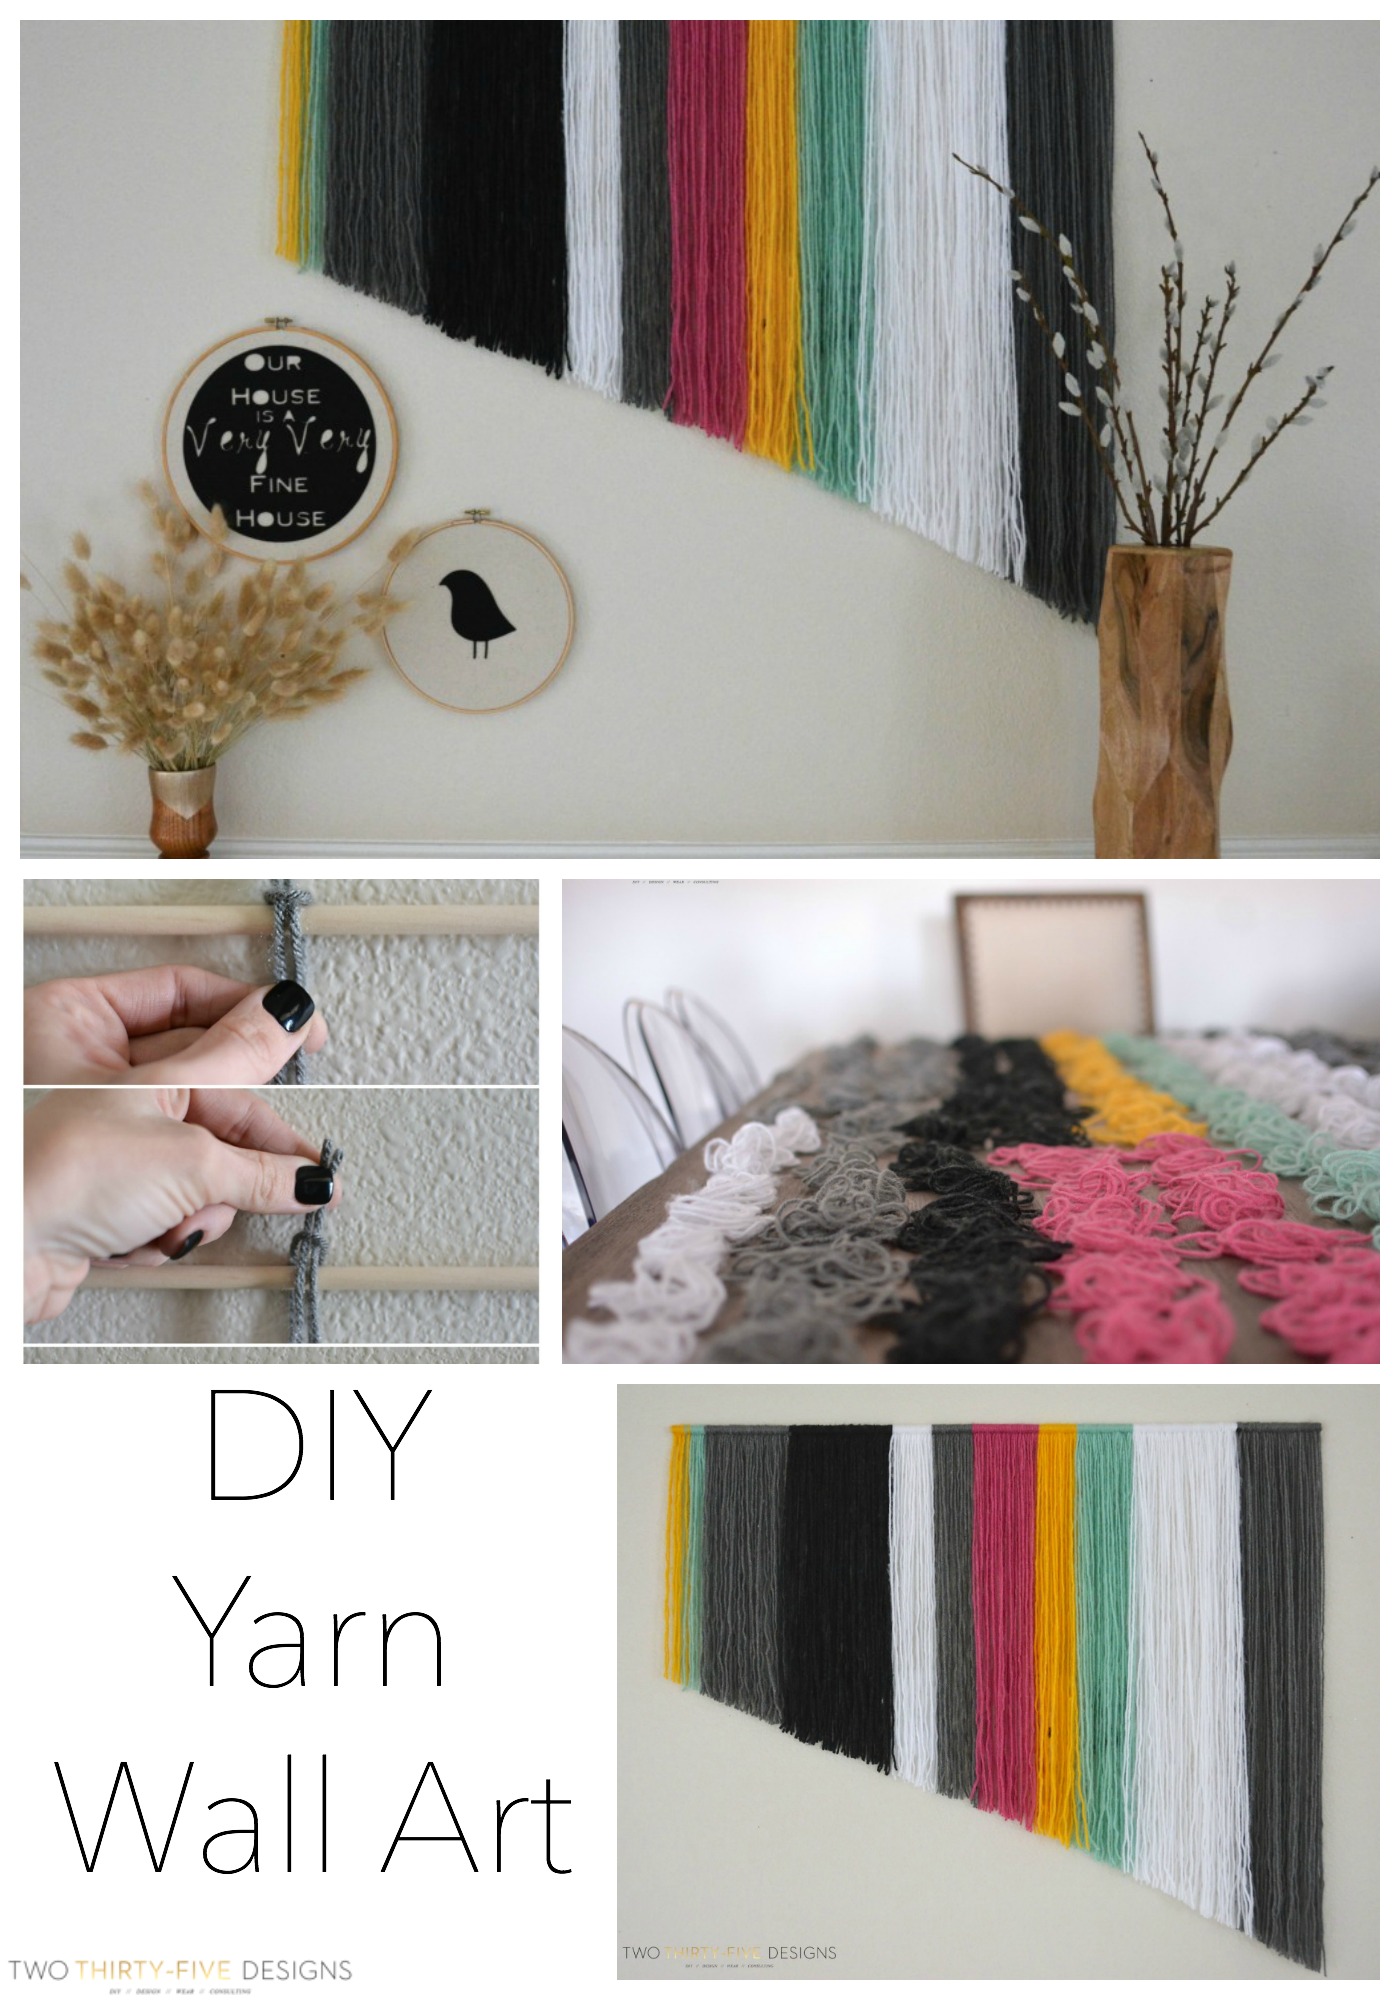
I spy, with my little eye……a bit of yarn, that needs to be mine.
Doesn’t quite rhyme, but that’s not the point.
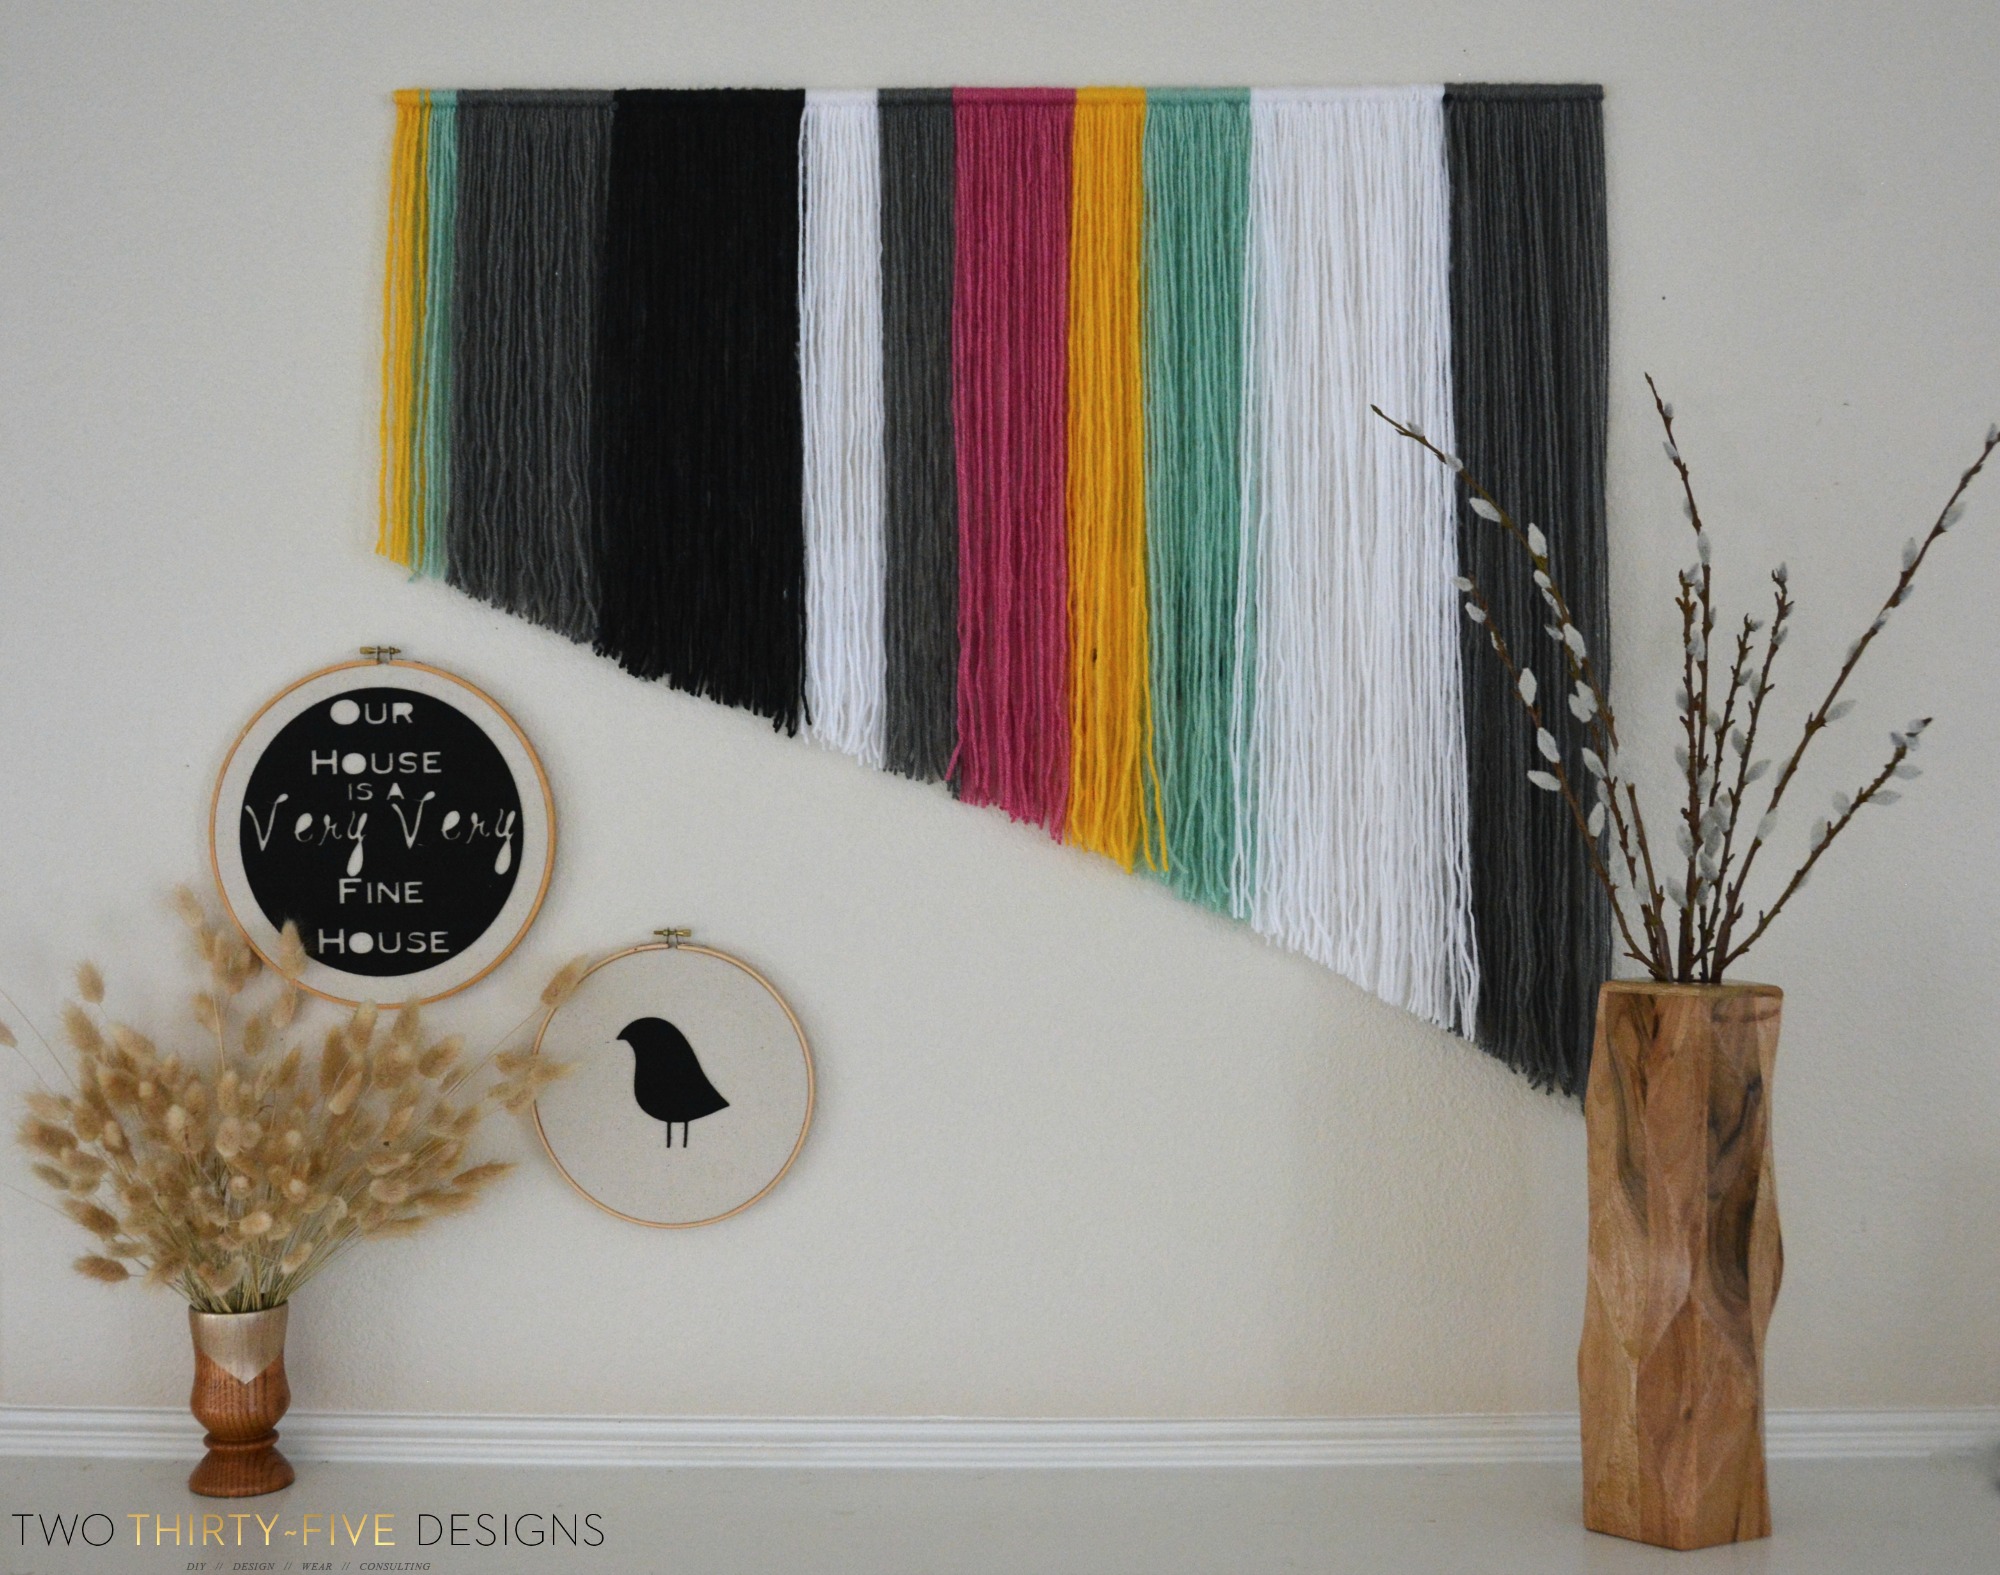
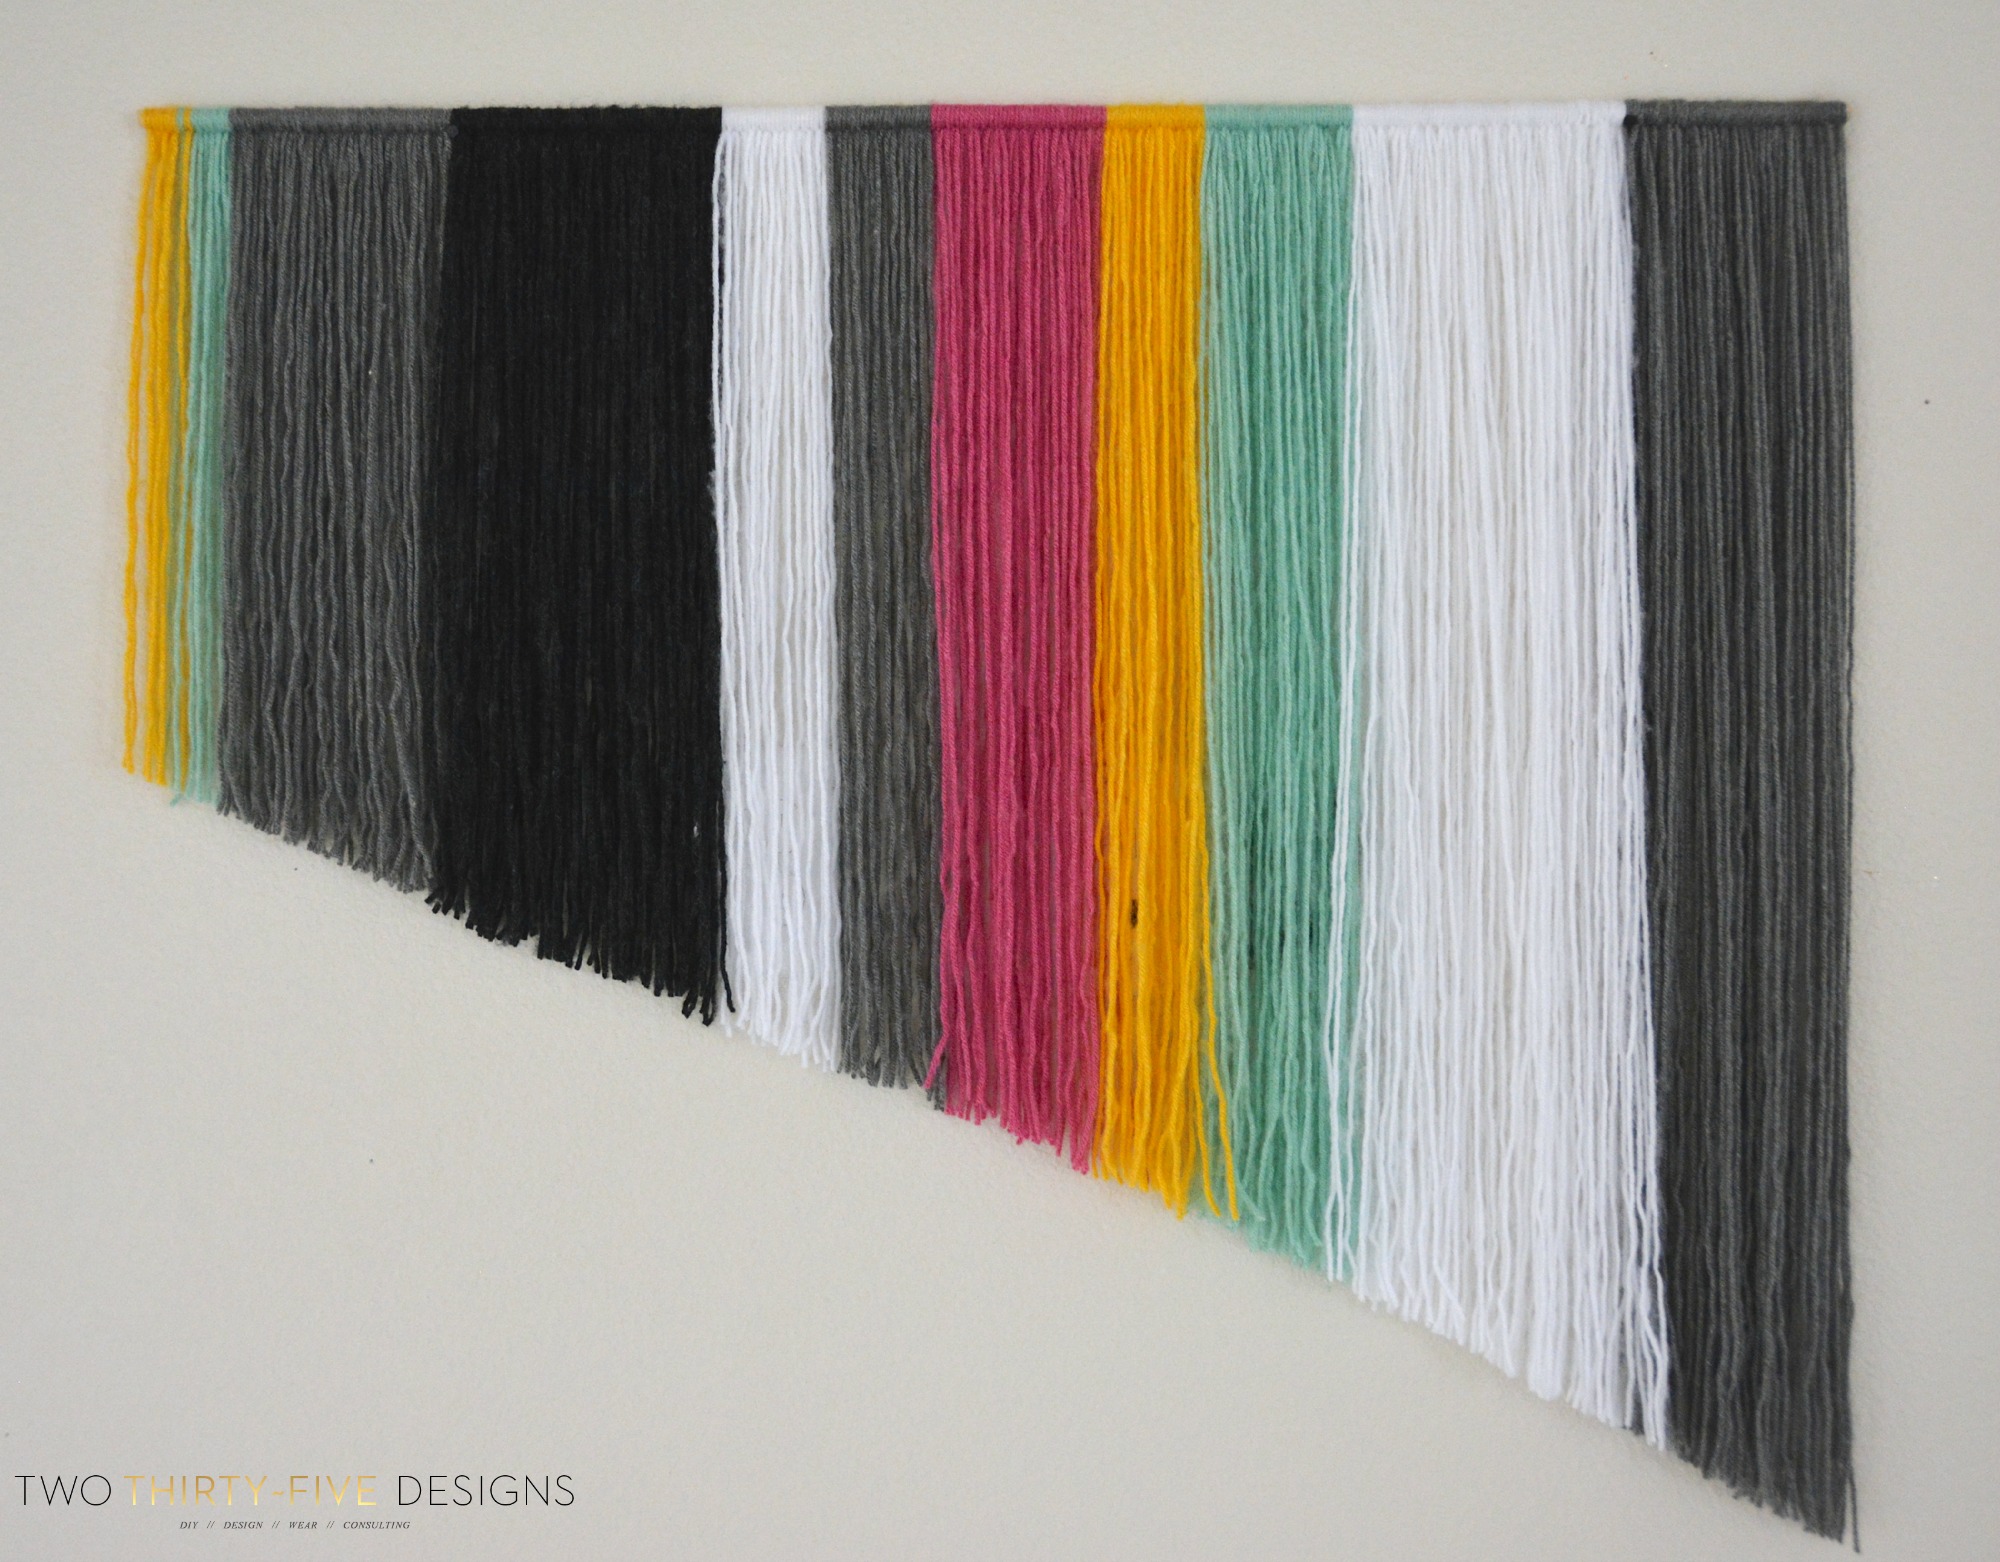
The point is that I have been searching and spending eleventy million hours on the interwebs, trying to find the perfect fringed wall art.
Only to keep coming up short handed because of size or color, I did what any normal person without a ton of time does….made my own 🙂
You guys, this was way simple. Pretty much requires little or no thought process once you get going.
So if you are like me, and are currently hooked onto the Serial podcast, you can listen to that and bust this baby out in record time. And it’s pretty therapeutic 🙂
Materials:
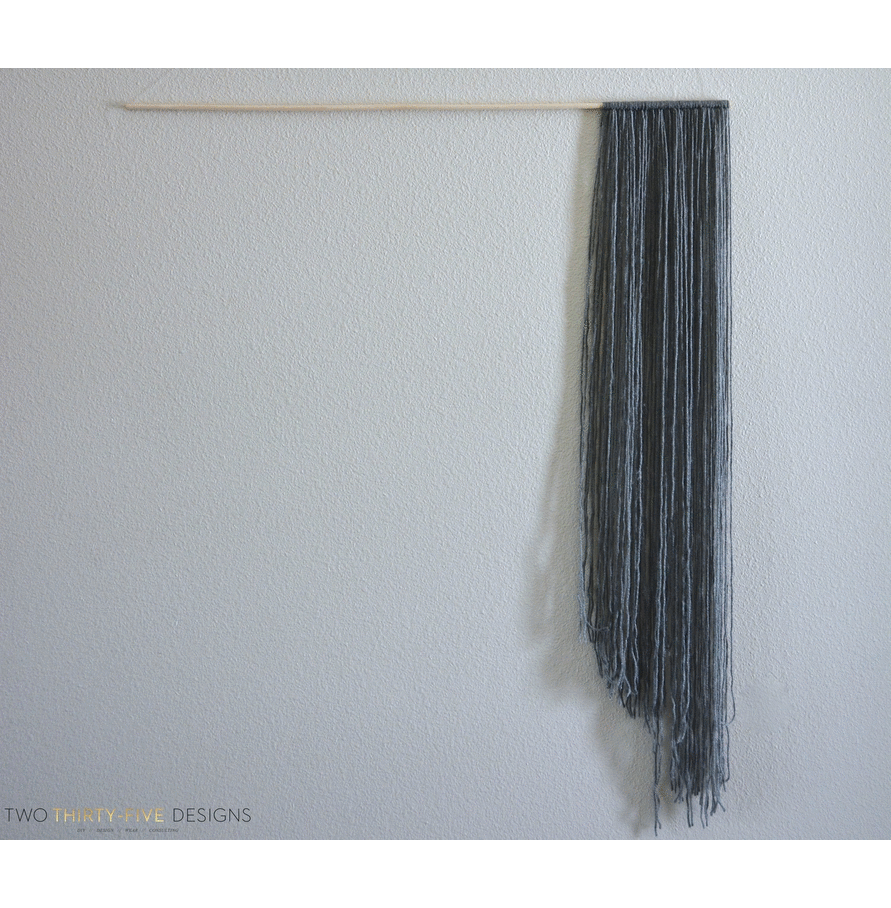
Wooden Dowel, Cut to size
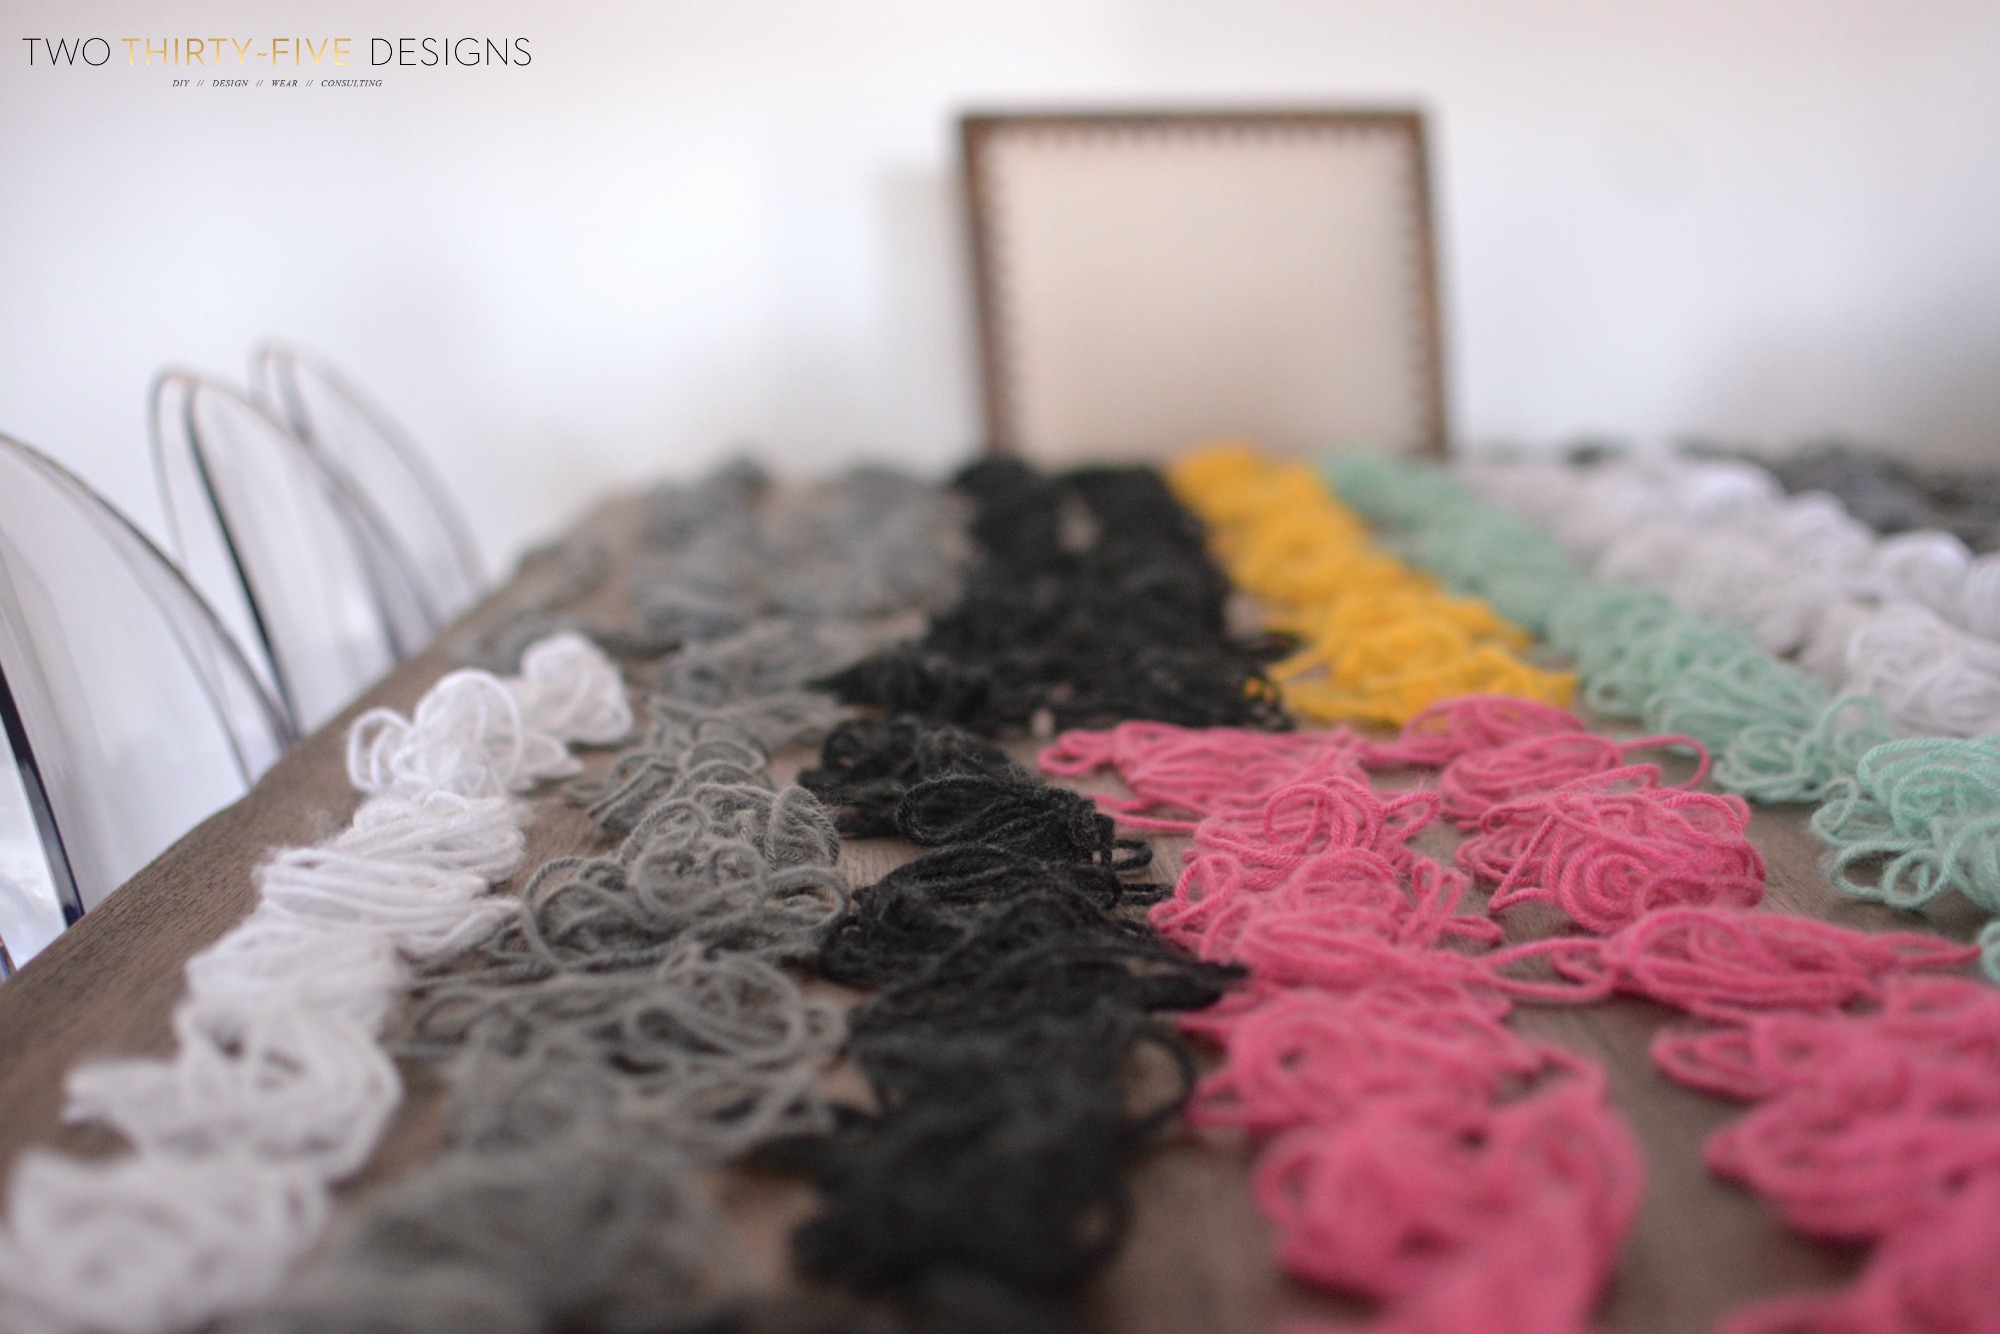
Yarn, any brand will do. I used six different colors.
Scissors
Directions:
1. Hold dowel in place of where you want you future, fabulous DIY Yarn Wall Art. Measure how long that the yarn needs to hang down.
2. Begin to measure yarn to cut. I cut each piece 90″ because I needed it to hang down at least 45″, and it’s ok if you go over a bit. You can trim later.
(I actually attached one piece of yarn, measured how much space it took, then multipied that by the length of the rod to see how many pieces I needed to cut. And you know what? It actually worked)
As I cut each piece, I sorted and laid it out. Mainly so that I would have a pattern set out for me to go by and that it wouldn’t be a big mess.
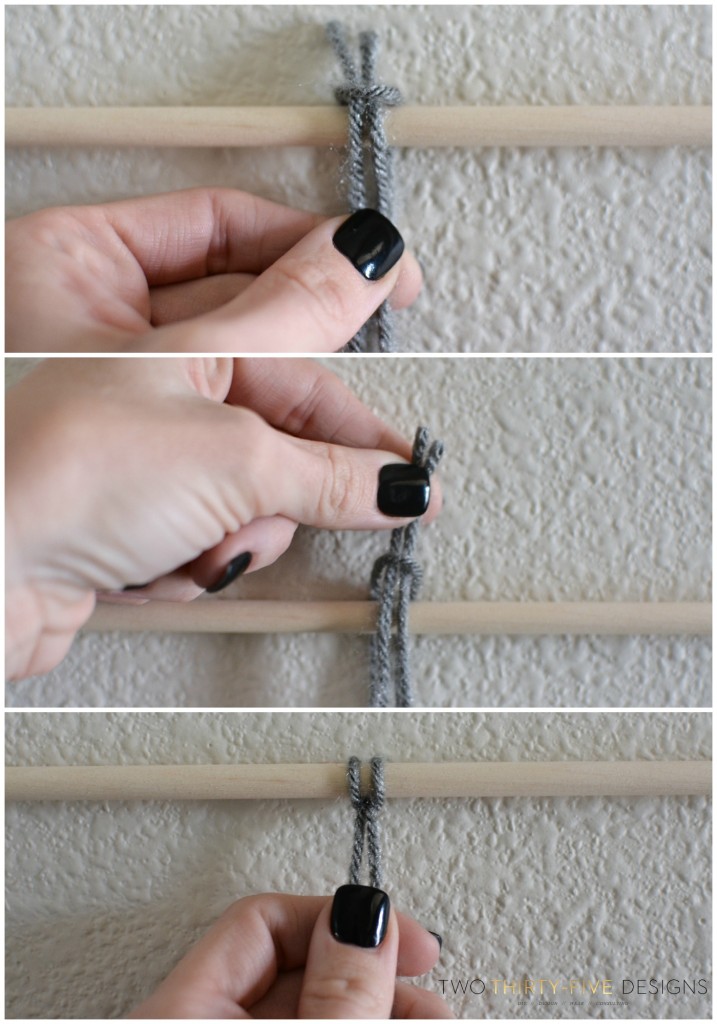
4. Take a piece of yarn and put the ends together.
Take the middle of the yarn and place it behind the dowel. Run the two ends through the loop (see below).
Pull ends through until it’s tight.
Rotate the yarn till it hangs down.
Push to the side and continue with your next piece.
If you feel like you need to secure the sides, run a bit of hot glue on the ends.
Cut in any shape or trim if needed/wanted.
And viola, you have yourself a great, inexpensive piece of wall art!