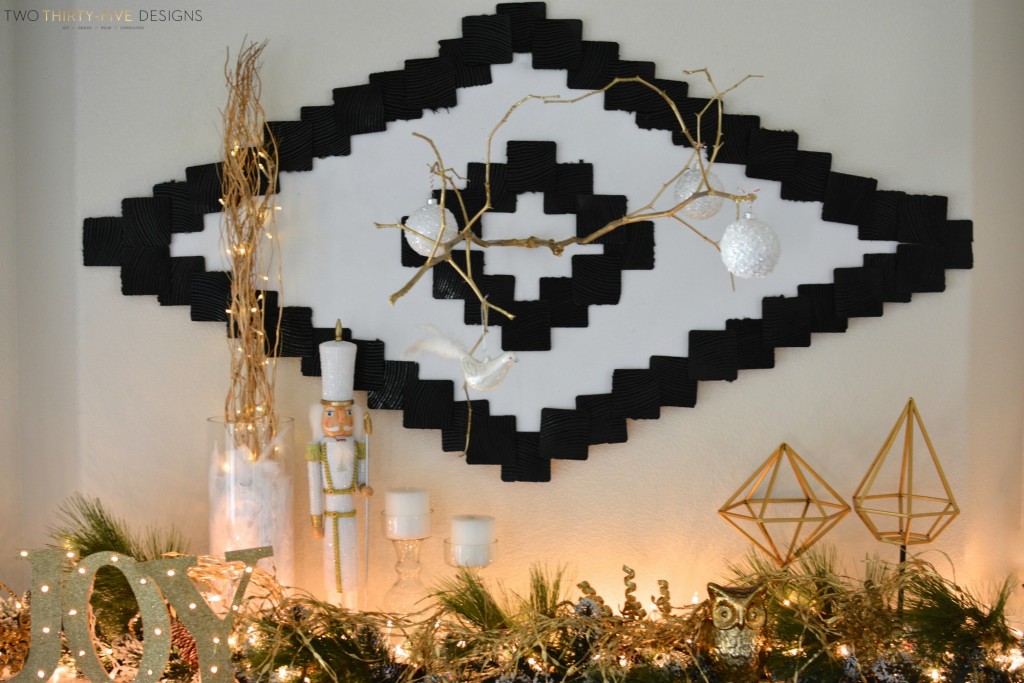
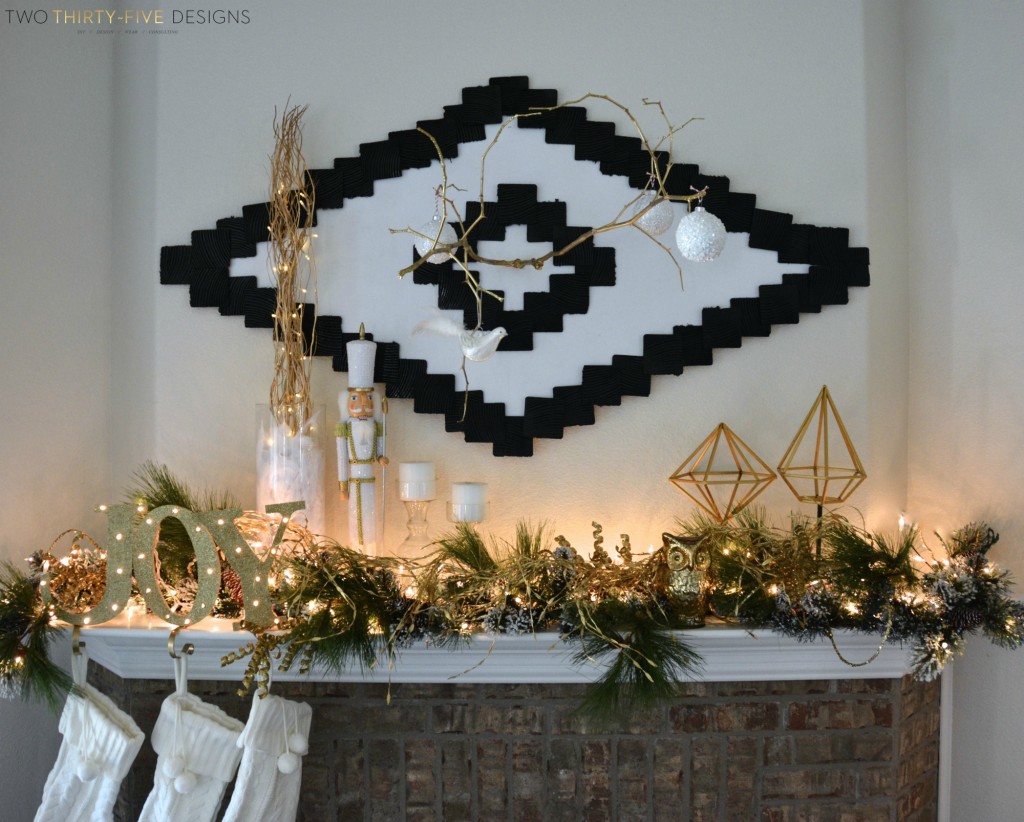
I set out to make my Mantel for Christmas this year different than last years Mantel.
Yes, I have already semi-decorated my mantel.
Twice.
Don’t judge. The one time in my life I have ever been semi-ahead. Stressing the word semi.
I kept searching for inspiration and it didn’t come for weeks.
Until I was fixing my cushions on the sofa after an intense game of kill-moms-most-favorite-sofa-ever. Clearly this is the best game. Ever Invented.
Anywho, it hit me when I ran across my favorite pillow from the promise land known as Ikea. And this is obviously blogland’s favorite pillow. Even Kristen Howerton came up with a hashtag for it.
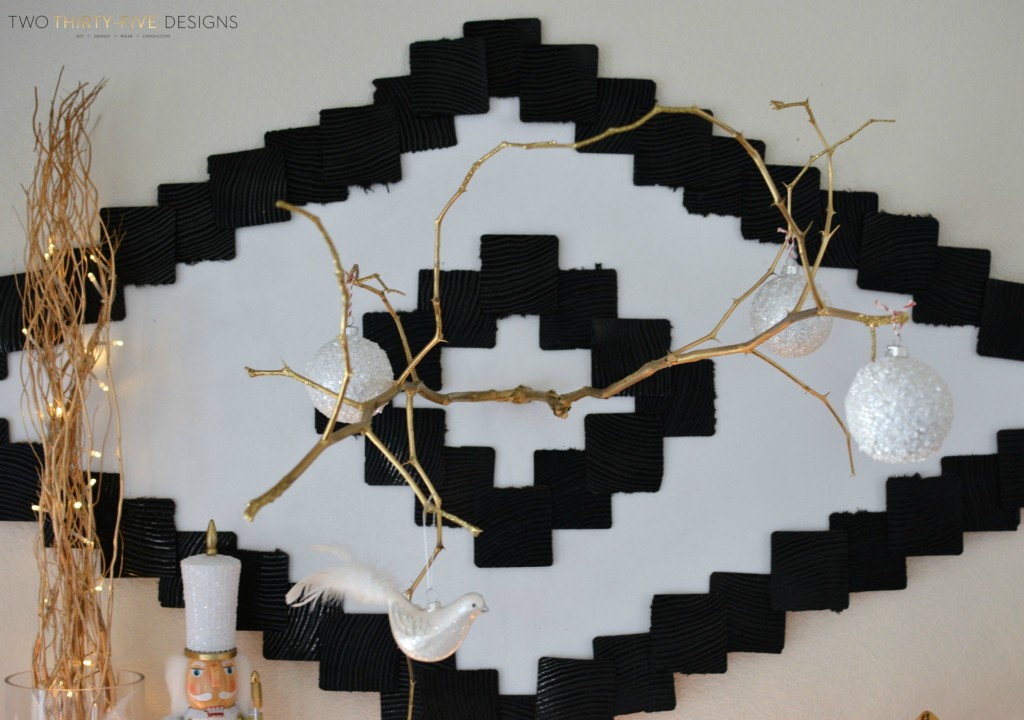
I just kept thinking how cool that would be if I could make it somehow for above the mantel.
So I did just that. I guess it’s not really a hack, more of a knock off.
I just like the way Ikea Mantel Hack sounds 😉
Materials:
Large piece of thin plywood (sizes depends on area to be covered)
4inx4inx8ft fence post
E6000
Ryobi Miter Saw
Ryobi Jig Saw
2 cans Black Spray Paint
2 cans White Spray Paint
Directions:
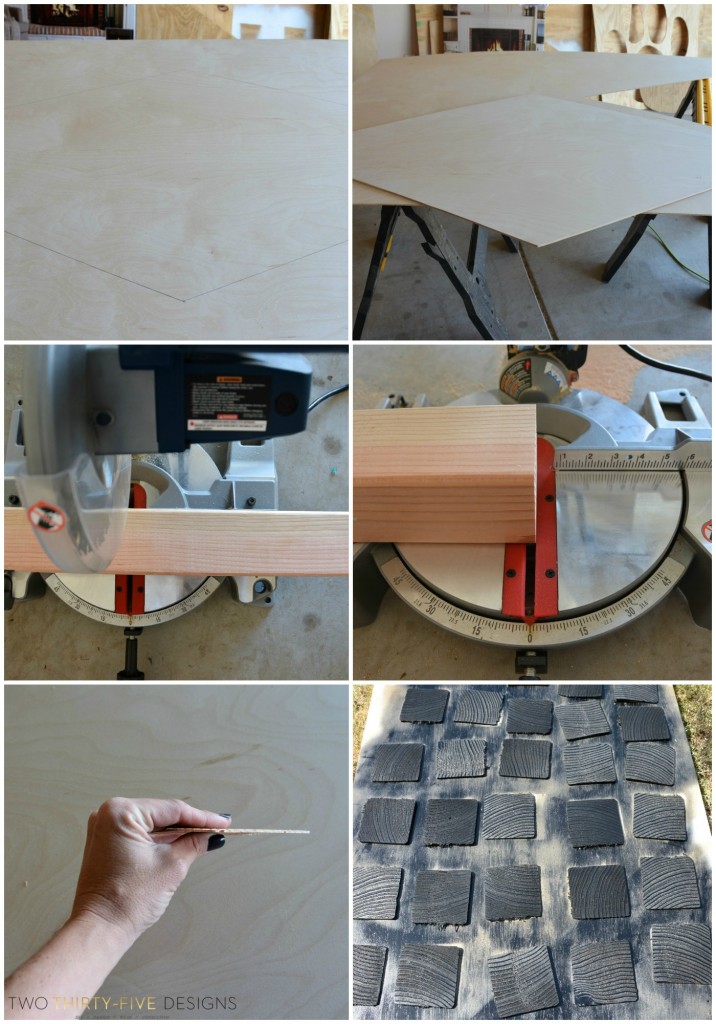
1. Mark with a pencil the four points on your board, then draw straight lines to each point as a guide for cutting.
2. Using your JigSaw, cut your plywood down to size. I cut my board 60″Wx30″H to fill my space. Spray with paint and let dry while you cut the post.
3. Securing your post, cut your fence post into smaller, workable pieces. Otherwise it might fly off, hit your thumb and could cause a large dent in your wall. Just a thought.
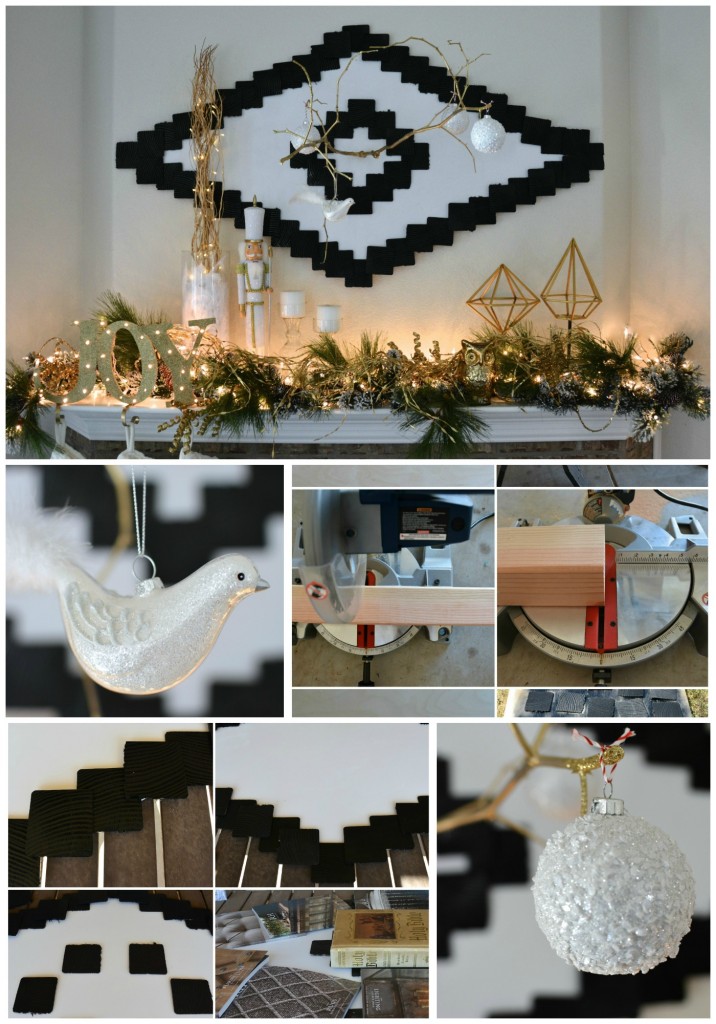
4. Next, you are going to cut slices of wood. Each piece needs to be thin, but not too thin or it will warp. I used the red plastic on my miter saw as my guide. As soon as the wood overlapped the edge, that’s where I stopped and made my cut. Eleventy billion times.
5. You want them about the size of a coaster, and thin so it won’t add unwanted weight.
6. Lay the squares out and spray paint with a good, solid coat, two if needed. (I only painted the top and sides).
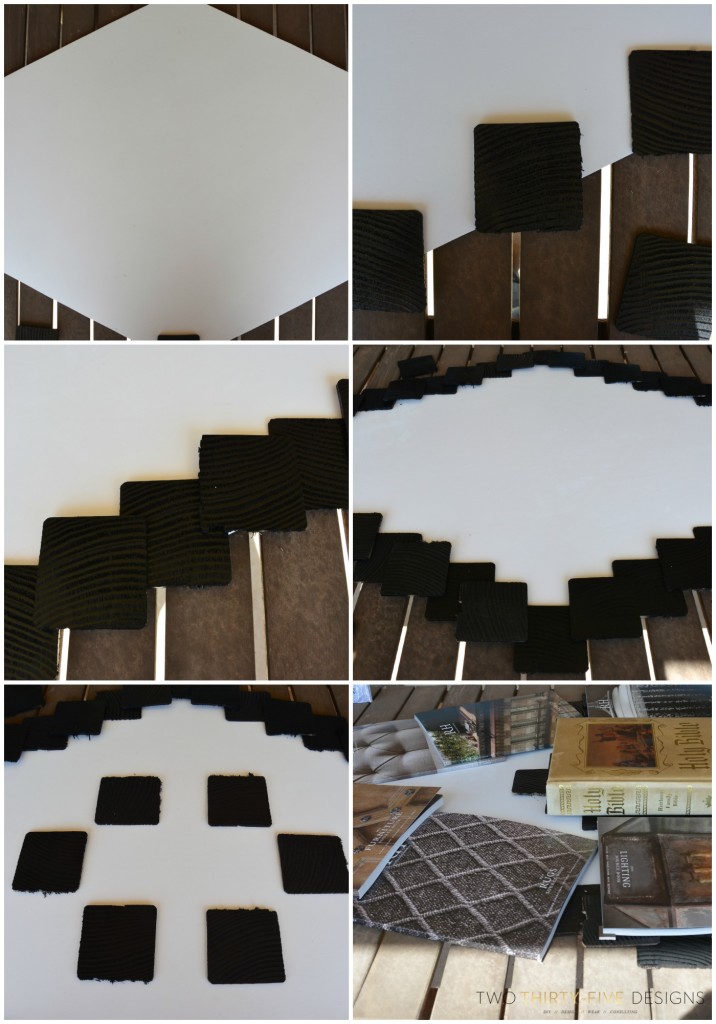
1. After all is dry, lay your diamond on a flat surface, out of the wind.
2. Starting at the bottom point, lay out each piece working your way to the outer edges, leaving a space to attach the top layer.
3. Set the next pieces on top of the first layer, staggering your way again to the outer edge.
4. Finish the entire way around.
5. To make your center, place 6 pieces centered like above. Then layer again, with top pieces, making sure there are two pieces on bottom per top piece.
6. Now is the fun part. Remove each square at a time and apply E6000.
Remember when you received the mother load of magazines from restoration hardware? Well now you are going to use those to carefully apply pressure to the wood pieces for several hours.
Oh, and use the Holy Bible too. I said many, many prayers during this process especially when the 4″x4″ flew across the room.
After everything is dry, check for loose pieces. (Next I attached my faux antlers, which you can get the how-to over at All Things Thrifty).
If there aren’t any lose pieces, bribe someone else to help you hang this. I held it up while husband attached with one, yes one, staple from my Ryobi AirStrike. It’s super lightweight.
Then we stood back and admired it 😉
