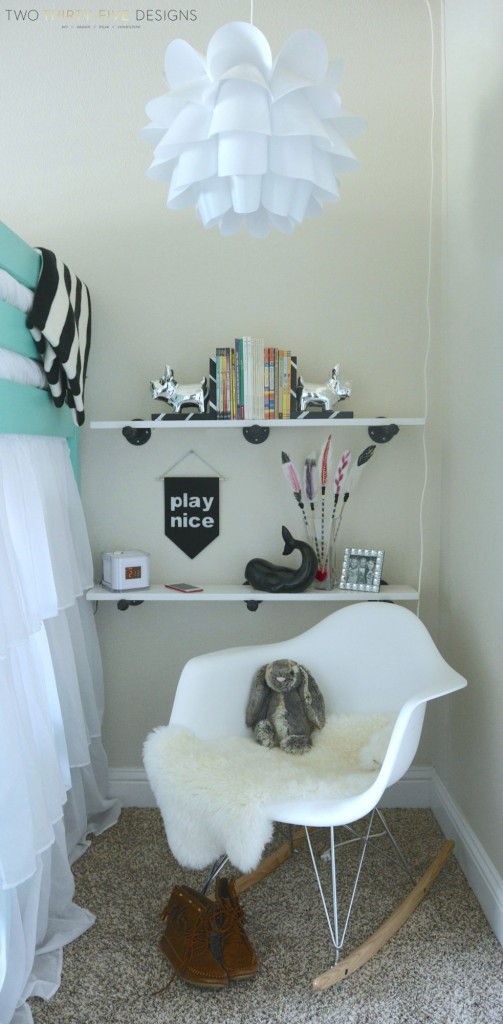
When I first began to tackle the little’s room, I grabbed simple floating shelves from a local store…
Floating wasn’t exactly the correct description…more like dangling from a thread.
And those suckers weren’t easy to hang either.
Almost everytime she docked her iPod, or grabbed a book, I would hear a crash, followed by ‘Moooooommmmm’
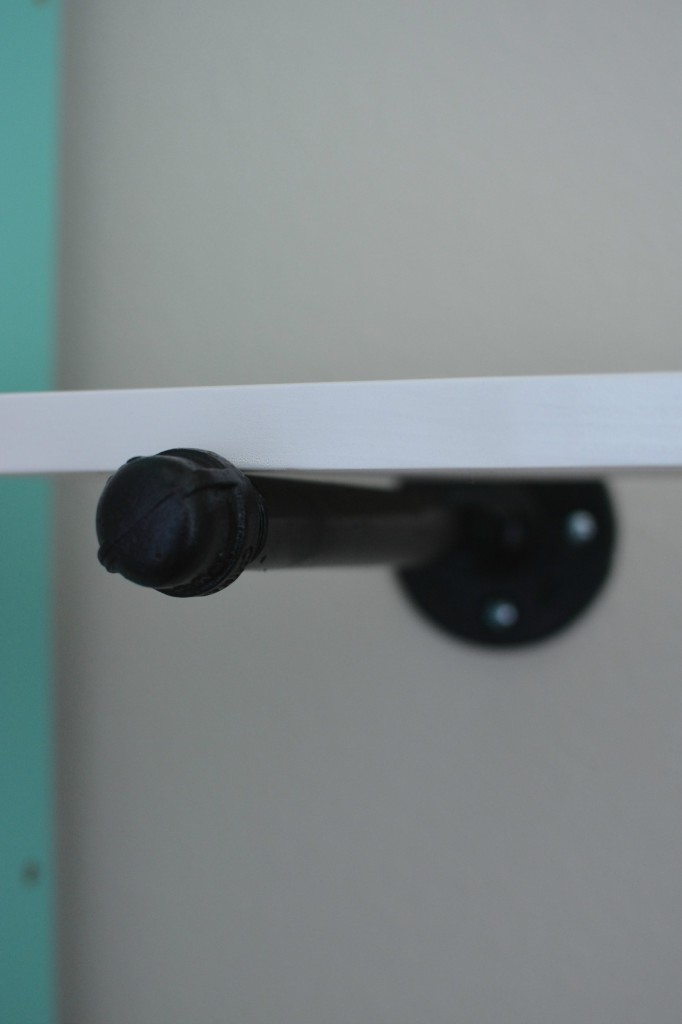
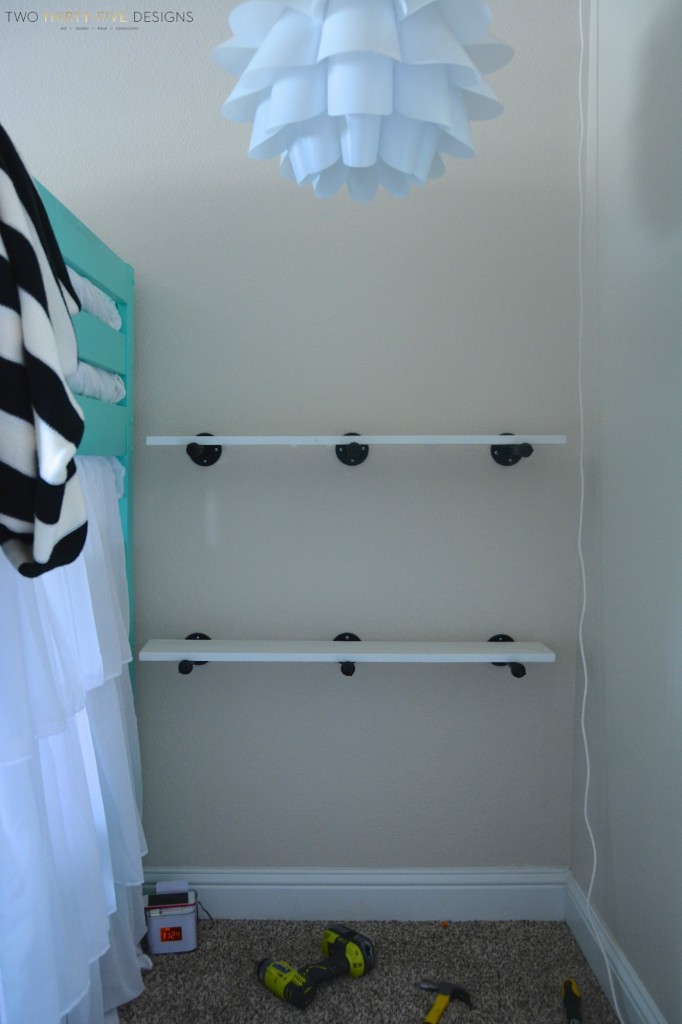
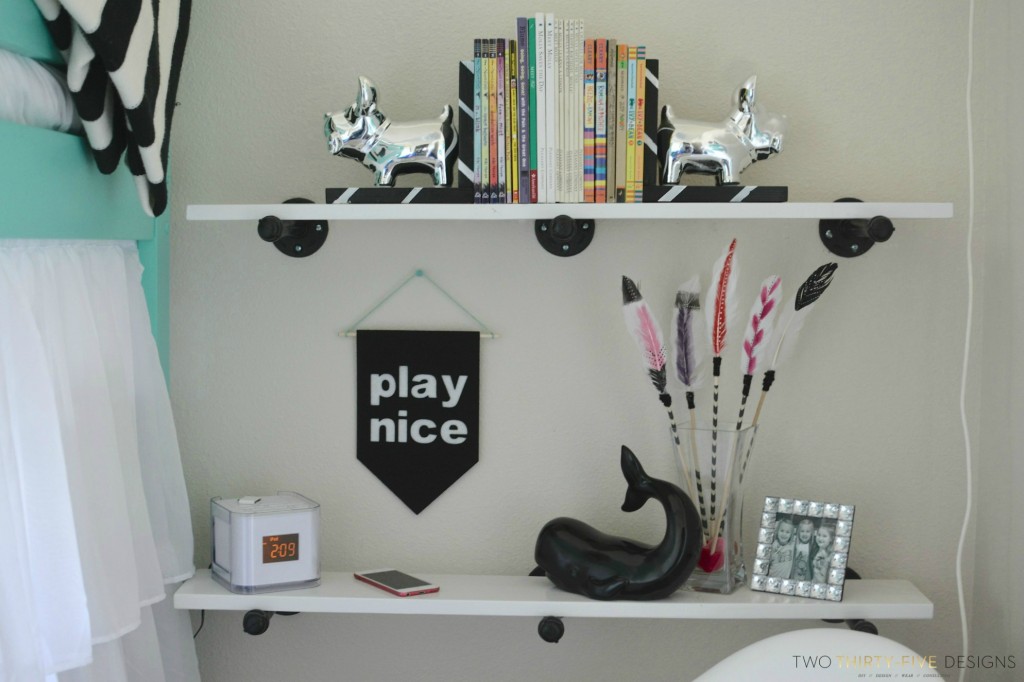
Literally had it this past weekend with them and took them down, replacing both with simple industrial shelves that she loves.
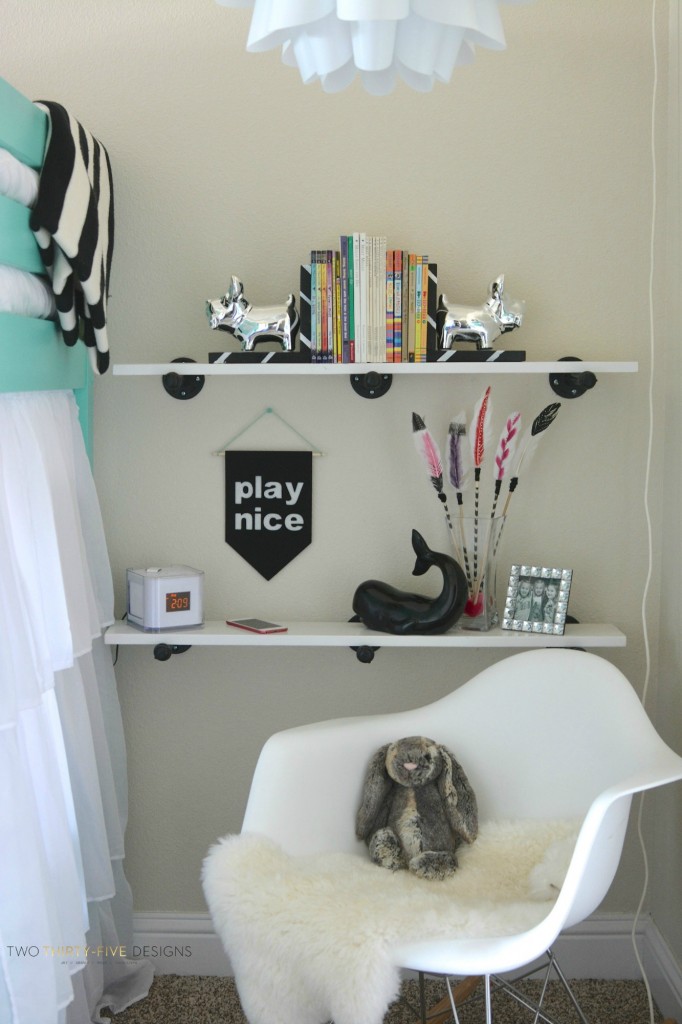
Materials:
Lumber. I used a 1″x6″x6′ cut in half.
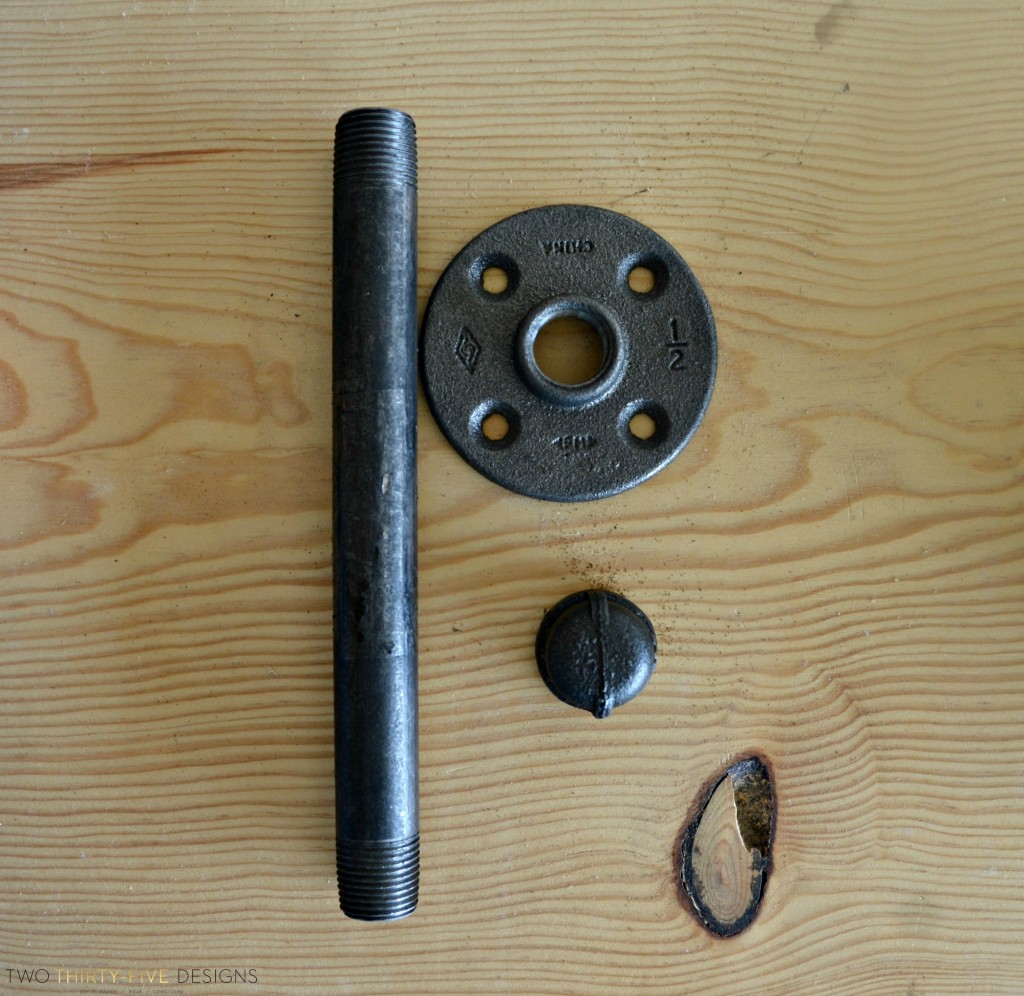
6 1/2″ Flanges
6 1/2″ x 8″ Nipples
6 1/2″ Caps
Spray Paint. I used high gloss white and black.
6 wall anchors
18 wall screws
Drill
Screwdriver
Level
Measuring Tape
Hammer
Saw (you can have the lumber cut at the store)
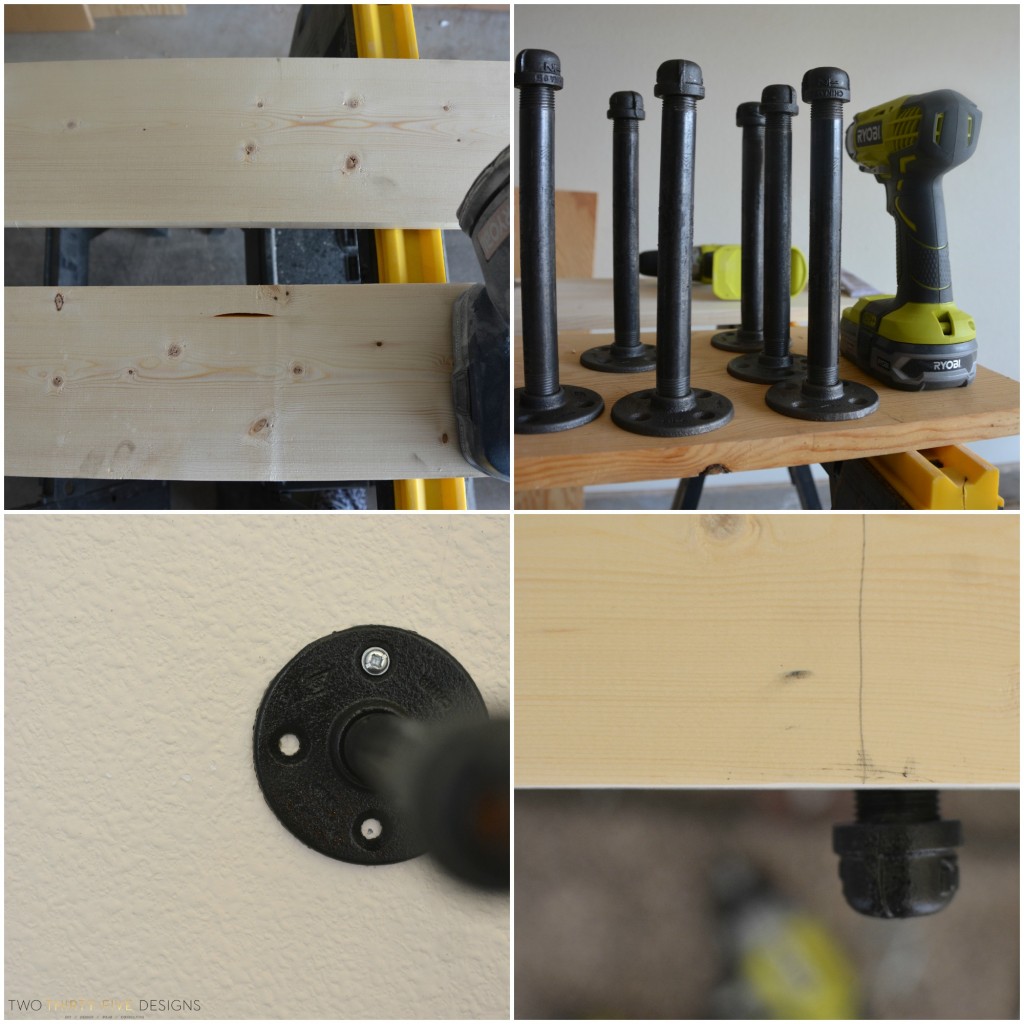
Directions:
1. Cut lumber to size and sand to a smooth finish. Paint and let dry.
2. Assemble all pipe pieces, clean and paint. Let dry.
3. Start with your center rod, mark the top hole with a pencil. Install your wall anchor. Attach the pipe to the wall in just the top spot, making sure to not over tighten just yet.
4. Flip one shelf over and mark your center. Flip it back over and align it with the center rod. Place the second pipe at the end of the shelf. Center the level on the shelf before you make your mark for your next wall anchor. After all is level, mark for the anchor and install the same as #3.
Repeat all above for the other outside rod, making sure all is level before attaching to wall.
5. After all pipes have been anchored, screw in the rest of the wall screws and tighten the wall anchors.
6. Repeat all steps for the upper/lower shelf.
7. Place painted lumber on attached pipes.
It’s a pretty good feeling knowing that these won’t fall on anyone else’s head 🙂
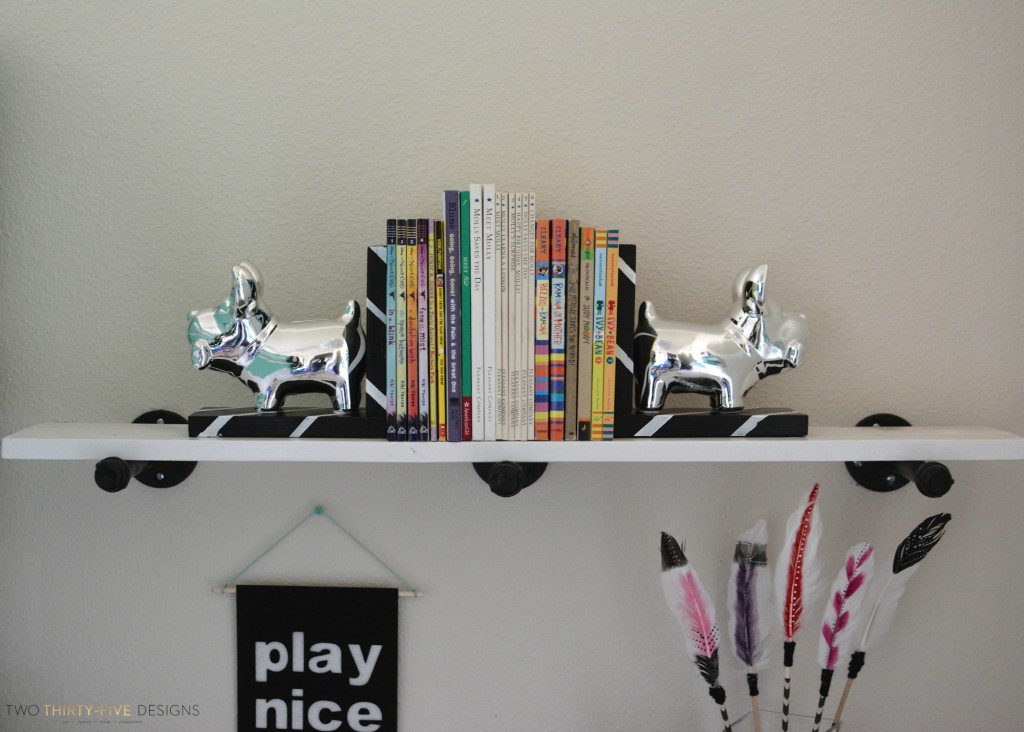
Curious about my Dog Gone Book Ends? Head over to All Things Thrifty for the Tutorial 🙂
Want to learn more about what all I have tackled in her room?
Here is her hanging chair, painting and hanging curtains in the bunk bed and making diy feather arrows.
